Assembly
|
|
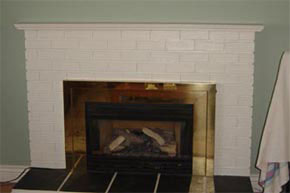
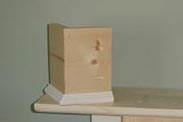
When
I removed the original mantel I discovered that there was no support
behind the sheetrock to fasten the mantel to, instead it was anchored
with wooden pegs driven into the holes in the bricks. If this worked for
thirty-five years I figured it would work again, rather than having to
patch the wall after adding framing behind it. |
|
|
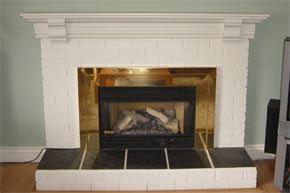
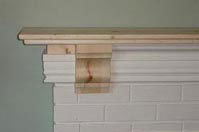
The replacement mantel is made with two corbels and six different dimensions of material:
2
each of 1x10 laminated pine, one ripped to 8" wide the other to 8 5/8"
with one corner rounded over, a 1X6 and three styles of molding.
Note: MDF could be substituted for the laminated pine.
|
|
|
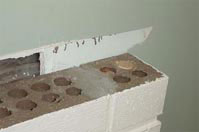
The
width of the first board for the top depends on the thickness of the
corbels, these were 4" so the board was ripped 4 5/8" wider than the
thickness of the fireplace top and 9 1/4" longer than the fireplace top.
The first board was fastened to the bricks with screws into the wooden
pegs, then the corbels were fastened to the board with screws down
through the top. A length of 1X6 was fastened between the corbels with
pocket screws. |
|
|
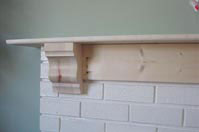
Two
lengths of 1X6 were joined to form pieces to wrap around each corner,
the bottom molding was fastened to them and the pocket holes were
drilled before they were fastened to the top with screws and to the
corbels with pocket screws. |
|
|
The
top board was ripped 5/8" wider and cut 1 1/4" longer than the lower
board, one corner was rounded over. It was fastened to the top board
with 1 1/4" long screws from the bottom, I also put a couple in the
center along the back down from the top and filled the holes. I then
applied the molding, filled the nail holes and painted it to match the
fireplace bricks. |
|